Showing posts with label RV Upgrade. Show all posts

Tuesday, October 11, 2022

Tucson, AZ

Sunday - There was a special test session this afternoon for a class. The instructor was in Eugene, OR, and the students were from coast to coast including one from Hawaii. It was a long session lasting over three hours but all but one of the students passed.

I finished the day out sitting in the jacuzzi until around 8pm. Pretty nice...

Monday - The temperature this morning was only 61°F and this wasn't the overnight low. Those are pretty nice temperatures. And the high of 82°F is nothing I'm going to complain about.

I'm going through the directions for the refrigerator upgrade and I think it will take a couple of days. A lot of steps in the seventy-five pages of instructions. Plus, it must sit upright for a minimum of twelve hours to allow the oil to drain back into the compressor in case the direction arrows weren't followed during shipment.

Tuesday - Lead one of the test sessions today. I wasn't planning on it but no one had volunteered. I called the applicant about ten minutes ahead of time and he had tested with us before so he was familiar with the drill.

The replacement refrigerator back arrived via FedEx truck at around 5:30pm. The paperwork indicated that it weighed 95lbs but I’m sure that includes the pallet it was sitting on. It seems to be very well packed for the weird shape. 

I disconnected several more wires from the back and discovered that the ice maker shutoff doesn’t shut off the water so I just removed the valve from the back of the refrigerator and left the supply line connected. 


Saturday, October 8, 2022

Tucson

Thursday - Another minor chore was defrosting the freezer. Since we will be upgrading the refrigerator next week sometime, I wanted to get all of the ice melted since it'll be lying face down on the floor with the doors removed. After the late afternoon rain, it was a pretty nice evening at the pool. There was still some lightning about fifteen miles northwest of here occasionally lighting up the clouds but it was nice here.

Friday - Since the freezer was defrosted, the freezer temperature actually got into single digits again! I guess the ice is a pretty good insulator. While we will be doing the upgrade, we borrowed a portable compressor refrigerator/freezer from Mike and Kathy. Currently, it has most of our freezer items and our compressor refrigerator/freezer will have our refrigerated items. The upgrade will take over a day since it needs to sit upright for at least 12 hours to let the oil drain back down to the compressor in case it was ever inverted while being shipped. I already have been contacted by FedEx about the delivery on Tuesday late afternoon or evening. 


This afternoon, Bridget saw a FB message that corn and tomatoes were available here in the park. We walked down and the produce looked fantastic. Especially the tomatoes. While we were there, a storm came through and this area got dumped on. Some of the hail is shown in the next picture which was taken behind the RV.


The water flowing down the street was curb to curb. A lot of water. Plus, it dropped the temperature quite a bit. People around us were digging out their sweaters.

Saturday - It was a wonderful, cool morning with an overnight low in the mid-60s. So I was able to lead a test session while sitting outside using a large step stool as a table. It is nice to be able to use the outside space again. 

After the test session, I washed the Jeep. This RV park doesn't prohibit it as long as you don't leave the water running and don't wash the car on the street. I used the RV pad behind us as they left much earlier than planned. 

In the afternoon, there is a demonstration of a remote test using special software. Right now, I'm waiting for the Zoom session to start and it's a good opportunity to write a blog post. To pass the time, I just took one of those FB trivia tests where they guess your education level. Perfect score and the software guessed Ph.D. Guess their software needs some work...

Monday, June 13, 2022

Mocksville, NC

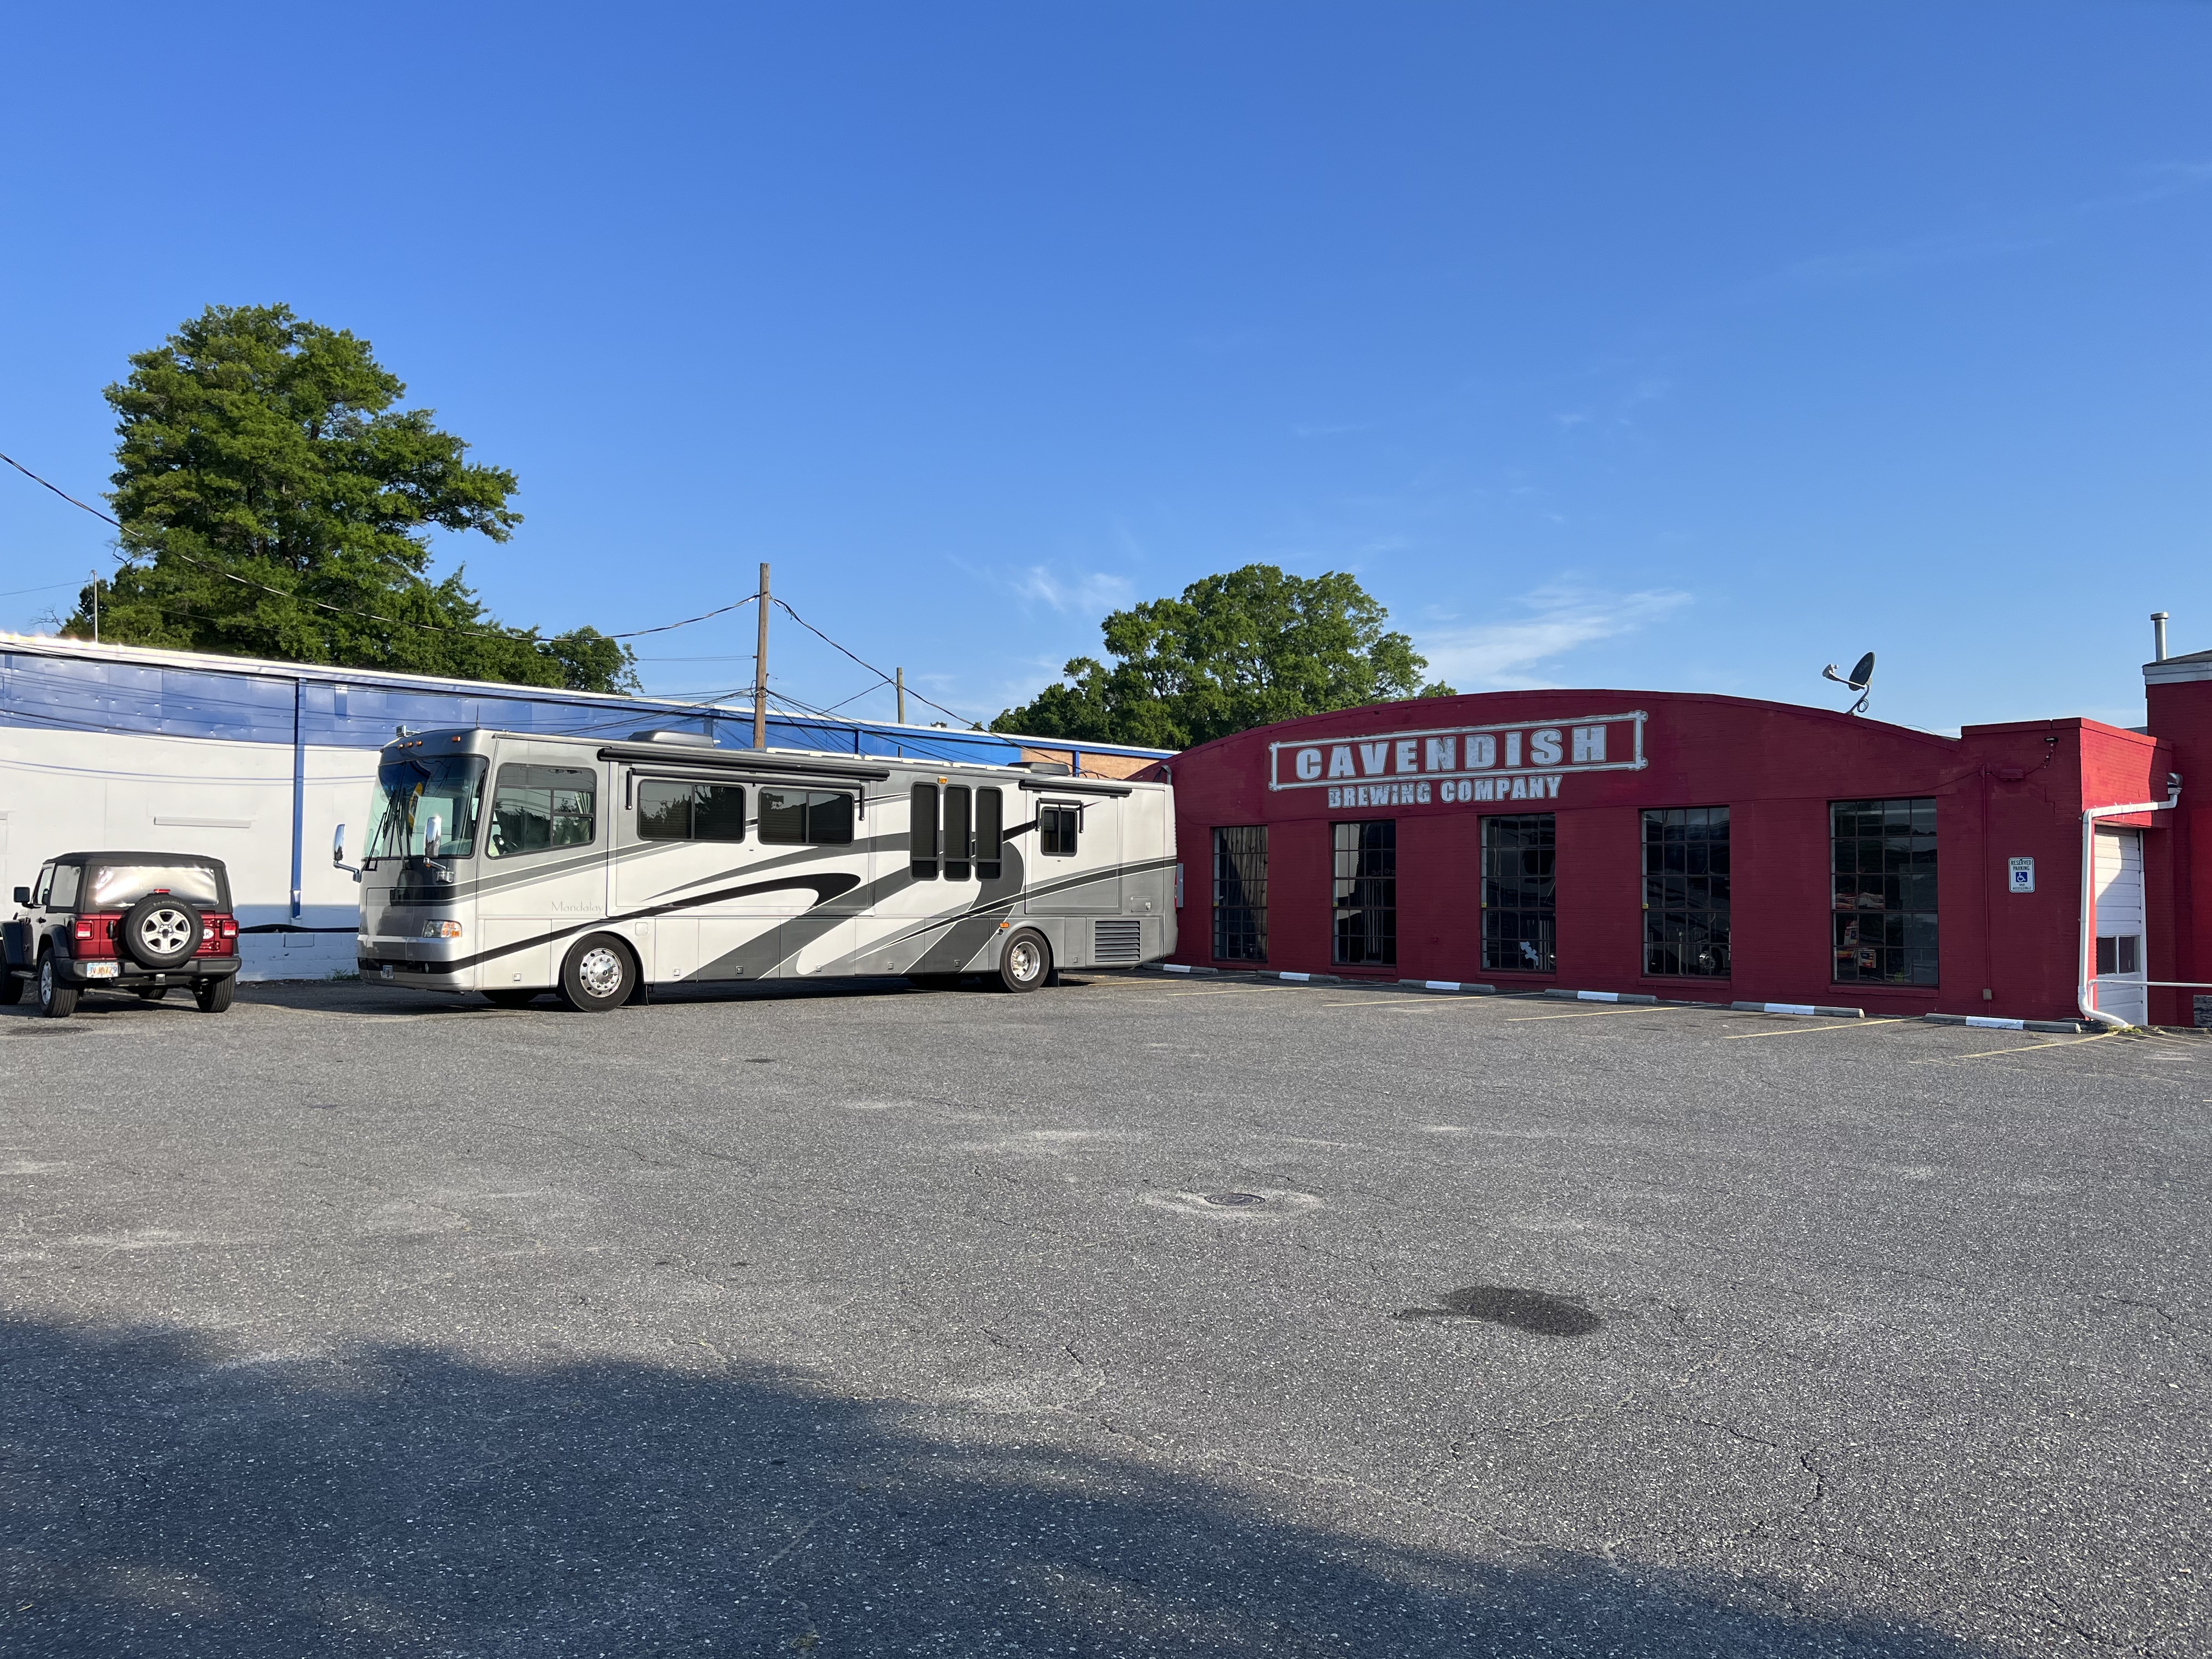
Monday - We had a nice, quiet stay at Cavendish Brewery, a Harvest Host, last night. We moved to their main, lighted parking lot around 9:30pm and it was much flatter. We just put out one bedroom slide and ran the generator until about 4:30am. It was 72°F outside so I turned on the roof vents and opened a couple of windows. 

After checking the oil level on the generator, we took off around 8:30 and headed north on hwy 321 to I-40 and headed east towards Mocksville, NC. We stopped at a rest area for several hours as it’s only 37 miles to our destination. We are headed to Hunckler Fabrication where MagneShades are made. This is a sunblock mesh the adheres to the windshield with strong magnets. This should reduce the temperature inside the RV especially if the front of the RV is facing south or west, as is often be the case.

The installation was scheduled for tomorrow morning but they started around 2pm. The magnet adhesive needs to cure for several hours. We don’t mind sitting here. The shop has a 50 amp outlet. It’ll give our generator a break. 

Here is what it looks like from the inside. Windshield wiper covers are included to protect the shade. 

The magnets are pretty hefty. They gave us an extra and several glue pads and glass preparation in case any magnets come loose. Which may be possible in this heat. We also had them measure the hallway windows on the driver’s side in case we want to order them in the future. 

We will be staying here tonight and head to our TT campground tomorrow morning. 


Sunday, May 23, 2021

Day 67, 68, 69, 70 - Chehalis, WA - TT

Thursday (67) - I participated in two test sessions today (everyone passed!) and made some chocolate chip cookies during the afternoon session. I am trying to empty out the refrigerator and cupboards. I think this may have been the first time I’ve ever made cookies without an electric mixer. And they turned out fine.

Friday (68) - It didn't get as warm today as I hoped but there is hope for tomorrow. I just need to get up on the roof to install vent covers for the plumbing vents. 

I got a call back from Micro-Air since the "Away" function didn't seem to work on the thermostat. It appears that the Dometic A/C units that I have don't support switching between heating and cooling modes. So the thermostat isn't able to provide that function. I kind of assumed that so it wasn't that disappointed. And it was nice to hear it from them.

Saturday (69) - It's only 46°F now at 10am but I'm still hoping for some warmer weather. If I don't get the plumbing vents changed out before heading north it's not a big deal. We had some friends in the campground over for dinner last night. Russ was the one who reseated the windshield last Fall after it popped out for the third time. He and his wife, Alex, have an annual site as they primarily split their time between here and on the Seaside on the Oregon coast.

It's now 1:30pm and it's still only 55°F. I don't think we'll see 70° today like the weather guessers said. At least it isn't raining. Right now, I'm waiting for the next test session to start. 

Sunday (70) - A cool and wet day. Nothing of significance except for continued cleaning out the cupboards. Dinner was a phenomenal steak and potato salad made with leftovers from Friday. Olive Garden bottled dressing and feta really made it delicious. Bridget drove to Corvallis to take the dogs to the vet for the health certificates required for air travel. She flies back home on Thursday with the animals. We leave the TT park on Wednesday morning. 

Tuesday, April 20, 2021

Day 37 - Benson, AZ - TT

Tuesday (37) - Yesterday evening after returning from Bisbee, we went to a local Mexican restaurant called Mi Casa. It felt like a little hole-in-the-wall place but the food was fantastic. It had a solid five stars on Yelp so I suspected that it may be pretty good.

An additional advantage of setting up the Raspberry Pi with the Victron software is being able to use the VRM site. I think it stands for Victron Remote Management. After creating a free id on the site, I entered the unique code generated on the Pi and the data, including historical data, is viewable on the site. Of course, this relies on an always-available Internet connection from the RV.

Today's task is to string the USB cable extension from the rear bay to the wall near the refrigerator where I'm planning to install the Raspberry Pi. I don't look forward to that as the cable needs to run along the frame between the rear tires and the transmission/rear differential. Then needs to run through the bay with all of the water tanks before getting to the space under the refrigerator.

Later - Success! The USB cable is run and the hole has been cut into the wall of the RV to mount the touch screen. There are no solar panels but the Pi does see the charge controller and the battery monitor though there isn't much to report since we are still plugged into shore power. I still need to make some clips or something to physically hold the touch screen onto the wall. I was originally thinking of simply using double-sided tape. I may do that for now.

Thursday, March 12, 2020

Day 36 - SeeLevel II Installation - Part 2

Black Tank
This morning, I pulled out the fiberglass panel for the wet bay. Actually, pulled out would be a generous term. I removed the screws and the door supports and was able to pull the panel out around 6". I reached behind the panel and removed the hot and cold water lines to the outdoor shower/faucet. This allowed me to pull the panel out around 6" further. This was enough room to clean the surface of the black tank and mount the sensor. Cleaning was done with Simple Green followed by rubbing alcohol. Enough to get rid of any grease. The 3M adhesive on the sensor strips is supposed to be pretty good. I used the awning rod to pull two wires from the other side of the bay and wired in this sensor. I didn't bother with the Gorilla tape on this sensor as I was confident that the sensor would work in this position. You may notice that the bottom of the sensor is around 2" above the bottom of the tank and about 1" from the top. This is due to the angled and curved corners of the tank but would provide us with the information we need. The level at the bottom doesn't really matter and if we are an inch from the top, that's full enough.

Grey Tank
When I had peeked behind the panel back in December, I had assumed that the black and grey tanks were roughly rectangular tanks sitting next to each other. Completely wrong. The black and grey tanks are some sort of Tetris arrangement which, I guess, is to distribute their weight as much as possible. I was able to find a vertical surface that was at least 12" high to attach the grey tank sensor. Unfortunately, it was in an almost inaccessible location on the passenger side adjacent to the frame rail. I could reach the top of the surface and maybe 6" down but couldn't see it at all. I cleaned the surface using a Swiffer floor cleaning tool then used rubbing alcohol on a couple of paper towels connected to the Swiffer.

After cleaning the surface, I trimmed off the "grey" tab on the sensor and attached a wire to the paper covering the 3M sticky surface. After positioning the sensor near the top of the tank, I used the wire to pull off the paper while pressing the sensor to the tank blindly. At least in the picture, it looks like it's pretty well lined up. And like the black tank, the bottom of the sensor is approximately 2-3" from the bottom of the tank. I then started filling the tank using the shower and the kitchen sink. After about 10 minutes, the display registered 6%. I believe that the bottom couple of inches is the largest part of the tank and probably holds maybe as much as a quarter of its capacity. After tying up the sensor wires, I bolted the access door and tested it one more time. It felt good to get this project done. I'll do a followup review in a couple of months but I think that the SeeLevel II is a worthwhile addition to the RV. No more guessing. I did finish installing the freshwater sensors (no more Gorilla Tape) and after more careful positioning, the display now reads 53%.

Rain is in the forecast for later today so I kind of wrapped things up including covering up the bikes and putting the awning away. It's been nice to be able to sit outside in the shade and spreading out tools and such on the picnic table.

Tomorrow morning, I head back to DFW to pick up Bridget. 

Wednesday, March 11, 2020

Day 35 - SeeLevel II installation - Part 1

I started the SeeLevel II installation this morning after yesterday’s internet searches. Step one was getting the water pump to work. There are two water pump switches. Power runs to the switch in the wet bay on the common contact. Wires from the other two contacts run up the second pump switch on the monitor panel above the door. The common contact on the second switch powers the water pump. Step two was running power and a ground wire to the panel. The pump indicator light has it’s own wire and I connected it to the common contact of the pump switch. This way the light is on when either pump switch is turned on. The old monitor panel is on the upper right hanging on a screw while I clip test, crimp, and heat shrink each connection.

The white/green wire on the original panel is the propane level sensor according to the document I found on the Internet. It connected to a green wire in the coach. I connected it to the green wire on the SeeLevel II panel which is for the propane sensor. At this point, the water pump works, the battery monitor shows the house battery voltage, and the LPG shows roughly the propane level (79%). It still needs to be calibrated. That will be done the next time the tank is filled. When the tank is full at 80%, the display will read 100%.

Only one blue wire remained to be connected. It goes to the blue wire on all of the tank sensors. I used the freshwater sensor wire, which is red on the coach. I assumed that it ran directly to the existing sensors on the freshwater tank. At the tank, the new sensors were connected to a red and white wire within the wire bundle The white wires on each sensor is connected to chassis ground which happens to be the white wire within the same bundle. The ES sensors are 12” long and are divided into 8 segments. The freshwater tank is 23” high so one segment needed to be cut off of each sensor. A small tab needed to be trimmed off of the top sensor to identify it. There are other tabs to identify the black and grey tanks. No tabs trimmed off is the lower water sensor. Since the total length of two stacked sensors is less than the height of the water tank, I positioned the bottom of the lower sensor about a half-inch above the bottom of the tank to account for the thickness of the tank material. The top is about 2” below the top but with the freshwater tank, the lower half is more important than the top as you want to know when the tank is almost empty. Due to the “L” shape of the tank, there isn’t a linear correlation between the tank percentage and gallons.

With the grey and black tank, the upper part of the tank is more important. I.e. It’s more important to know when they are almost full. You can see the water level in the upper picture and it’s right above where the two sensors meet. The display reads 50%. I have the sensors mounted with gorilla tape to test the system with the door closed. Once the final position has been determined, there is 3M adhesive tape on the sensors for mounting. The directions say to avoid metal within 2” of the face of the sensor. This is difficult with the water tank as there is metal on all of the surfaces of the bay containing the tank. In the picture, you can see that the sensor is not quite 2” away from where the door would contact the gasket. I have the door closed but not bolted shut to test as I still need to run at least one wire over the top of the tanks to the wet bay. That is where the black and grey tank sensors will be located. The minimal configuration needed for the system was to tell the system that I’m using two stacked sensors for the freshwater tank. There is also a diagnostic display that showed a signal level of 96% and 14 segments. The resolution of the system according to the manufacturer is ⅜".

To access the other two tanks, I need to partially disassemble the wet bay as the fiberglass panel blocks access to the tanks. It hit 85°F today I just worked on the freshwater tank as I was able to work under the shade of the awning. No awning on the other side. That will be part 2 of the SeeLevel II installation.

Wednesday, March 4, 2020

Day 28 - Six Months in the Motorhome - TT

It looks like rain for the rest of the day (at least) but it has toned down from the morning thunderstorm.

It’s been about six months since I picked up this coach from the dealer in GA and it may be a good idea to talk about our decision. It is definitely easier to travel with the coach than it was with the 5th wheel and truck. There was some initial concern when I first picked it up due to the 41½’ length but the width is comparable to the 5th wheel and it isn’t quite as tall. Backing into campsites is almost trivial after the car is unloaded. The length does make it more difficult to level front to back but the automatic leveling system is nice to have. The tow dolly is a hassle and does add to the stress on travel days. But it is nice to have the Prius to drive around with after arriving at our location.

We really should’ve had an inspector check out the coach before purchasing. We could’ve avoided the refrigerator hassle and some other minor problems. An inspection probably wouldn’t have caught any engine or driveline problems as they only check out the RV part.

Many have dismissed the combo washer/dryer as a waste of space since the loads are small and it takes forever to dry. Both true but it is very convenient and we use it all the time. On our initial “list” I wanted only two slides. We have four and though the additional floor space is nice, fewer would be better. Also, I would have preferred a Cummins engine instead of a Caterpillar. Mostly due to familiarity and easier to find service. The double pane windows are nice as is the 7.5kw diesel generator. It turns out that I don’t actually know the hours on the generator as the Hobbs meter isn’t  working. Two of the slides don’t seal well during travel. One due to some weather stripping missing and the other from damage to the corner of the slide. It looks like it caught on an open compartment door while closing the slide.

The Dicor on the roof sealing roof openings looked old and the salesman told me that they would reseal. They sort of did but didn’t do a very good job. The windshield problems are apparently common in large motorhomes due to flex in the body this especially true with multiple slides (too many slides). Everything else seems to work fine. Both air conditioners cool, the front one has a heat pump which has been getting a lot of use. Both furnaces work though the rear one puts all of its output on the inside. The front furnace splits it’s output between the water tanks and the interior. It ends up running for extended periods. The repaired refrigerator works great and even though I thought it was silly to have an ice maker, I like having it. The water heater works on both propane and shore power. No plumbing leaks. The modified sine wave (square wave) inverter works and charges the battery with 80 amps when on shore power or the generator. The four golf cart house batteries seem to be in reasonable condition though the two AGM chassis batteries seem to be a little weak. Something is still flaky with the right turn signal. I need to apply pressure on the lever to get it to blink. The four way flasher works fine so the problem is with the lever on the steering column.

The fuel mileage is a bit worse than I expected. While towing the Prius, it’s been averaging 7.2mpg. On the initial cross country trip, it averaged about 8.5mpg. Would we do it again? Probably though I really should have contacted a inspector before putting down a deposit. I hate dealers but I don’t trust private party sales either.

Saturday, January 4, 2020

Day 55, 56 -

Friday (55) -Yesterday afternoon, we rode the e-bikes down to Jack Smith Park which is a couple of subdivisions down-river from the RV park. The low water level was really evident compared to last year. The lower end of the boat ramp was on dry land by several feet. It was a  windy trip back.

Saturday (56) - It has been cold back home in Fairbanks the last couple of weeks. Not unusual but a good reminder of one reason we are opting to be in the RV in warmer temperatures. It may get cooler once the sun goes down but it’s still above freezing. And, I’m sitting outside without even a sweater typing this post.

Yesterday at the pool, someone was saying that they’ve been unable to ride their motorcycle due to the low temperatures and clouds. I was tempted to comment but managed to not say anything. There are a number of bikes here and rarely do I see them used. Sad...

I removed the main panel of the wet bay to get access to the black and grey tanks. I needed to measure their height since I plan to install a SeeLevel II tank monitor. The tank sensors are available in three sizes so I needed to know this height of the tanks. The black and grey tanks are both about 17” tall but only the upper 13” is flat enough to install the sensors. Since it is more important to know when they are full, the included 12” sensors are fine. The sensors are external to the tanks so they should be more accurate. The water tank is an “L” shape with the lower 10” or so the full width of the RV. Then it extends up for a total height of almost two feet. This tank requires two stacked sensors. 

Saturday, December 7, 2019

Day 28 - Casa Grande, AZ

This afternoon, we drove into Phoenix and it was a zoo. Bridget had Waze running to route us around the traffic jams. There was another accident just south of Chandler. It seems that everyone drives too fast around here and they like to weave through traffic. Bridget is on her way to Fairbanks for several days.

This evening, I installed a mount for the small TV in the bedroom and since there used to be a tube TV in that spot, there was a large, empty, unused space with a power outlet. I moved the printer into that space and there is enough room for paper and ink bottles. I wasn’t sure how sturdy the structure is so I added some additional reinforcement to support the TV. While I was at it, I finally mounted the Ubiquity access point and power supply. I may finally mount the radio to the ladder since there is a nice flagpole holder on the ladder. It may be easy to make it easy to rotate. 

Wednesday, October 30, 2019

Day 75 - Tucson, AZ

Enough procrastinating. I ordered the Progressive Industries EMS (surge protector plus more) back in July. I’ve been carrying it around in one of the storage bays for the last couple of months. It’s well past the time to install it. This is the compartment where the electric spool for the 50 amp cable is located. To install the EMS, I had to remove the spool, cut the cable, and install the EMS between the spool and the automatic transfer switch which is the black box near the top of the next picture. I was a little wary of installing it today as Bridget has the car in Los Angeles. In case I needed something, I couldn't just run out and pick it up. There were no issues.

The 6 AWG wires were very stiff and the 14” thick rubber cover made it very difficult to work in the limited space. The weather here in Tucson was perfect for this sort of project as it was 58°F with scattered high clouds when I started. The install took about two hours and it was all of 62°F by the time I was finished. I wanted to install this when I knew that we wouldn’t need the A/C or other power hungry device. Also, it had to be an RV park that didn’t care if I worked on the RV. For now, I simply mounted the remote display next to the EMS as I’m not sure of a suitable route to an inside wall. But that’s another project. The EMS works (I’ll call that a win!). When shore power is detected, the power is tested for voltage (too high or low), frequency, and proper grounding. If all of these check out, power is allowed to pass into the coach.

The EMS I installed in the 5th wheel disconnected power several times. The first time was when it detected an improperly wired shore power outlet and another time for low voltage. These devices can save you a lot of $ in burned-out electronics.

Another task completed today was washing the outside of the coach. It was nice and shiny when I picked it up in GA but that was quite a few miles ago. Washing your RV is not generally allowed but here at the Fairgrounds, it’s not prohibited. But it’s not specifically allowed either. But, the two RVs next to me were being washed so I jumped in as well. I did half of it yesterday and the remaining half today. Since the windshield was just worked on, I didn't wash the front. But Bridget did that on Sunday while in Casa Grande. The dirt was most notable on the shiny aluminum wheels. They look shiny again.

Since it’s been 24 hours since the windshield repair, I stored and redeployed the leveling jacks and the slides. This RV park was already pretty level but the leveling jacks make it more stable. Important since my clothes were pretty dirty from installing the EMS. They are now in the washer. 

Sunday, October 13, 2019

Day 58 - Virgin, UT

Really “glamping” at the Zion River RV Resort. The pool and hot tub are behind me and the sites are concrete and level. There is grass on the door side. Right now behind me, they are serving home-made ice cream. Pretty nice. We are here for several days and plan on going into Zion tomorrow and Tuesday.

I took advantage of the level concrete pad to install the Snap-Pads. You put some liquid dish soap along the top edge and manually lower the leveling jacks onto them. They then snap onto the feet of the jack. They add an inch to the jacks and are made from recycled tires. They look to be pretty well made. 

Friday, October 4, 2019

Day 49 - Victron Battery Monitor - Leeds, UT

I took advantage of a slow day to install the Victron battery monitor into the DC system. A 500 amp shunt (shown below) is installed in series with the negative side of the battery bank. All current in or out of the battery is measured as well as the voltage. The system also allows you to measure the voltage of a secondary battery which, in our case, is the starting battery. This battery monitor is similar to the Trimetric monitor I installed on the 5th wheel with the added benefit of Bluetooth.

Since I can monitor this using my phone, I just left the battery monitor itself in the battery compartment. May I’ll install it onto a wall later but for now, I’ll just use the phone app. All of the configuration and monitoring can be done through the app. I should’ve installed this a month ago. Who knows how low I’ve been running these batteries.


Friday, February 22, 2019

Day 45 - More Solar

This morning at around 7:30, I started the installation of the new solar panel. It was about 45°F but there was no wind. I didn't want to be messing around with a huge sail up on the roof of the RV. I marked the area on the roof where the mounting brackets would go and covered the area with a piece of Eternabond tape. This is a very sticky sturdy tape that is designed to repair rubber roofs. Once it's on, it's on for good. This helps seal the screw holes in the roof. The rear brackets landed on a roof truss which is always nice. The vendor had 3M tape on the "L" brackets which was nice to hold the bracket in place while the pilot holes were drilled and the stainless steel screws driven in place.

In this picture, you can see the size difference between the 100-watt Renogy panels and the new 180-watt panel. Almost double the size. At this point, the panel is screwed down to the roof and I'm headed down to get some coffee and let things warm up some. The next step is going to be to seal things up.

I'm using Dicor self-leveling sealant which is designed for membrane roofs. I applied the Dicor over the screw heads, around the base of the bracket, and around the edges of the Eternabond tape. Around the tape edges probably isn't necessary but I needed to use up the tube once it has been opened. I also went ahead and applied some over the screw heads of the other solar panel brackets and anywhere else that looked like it needed it.

I used the tilting brackets to get access to the junction box where the 10 AWG wires from the panels are screwed into bus bars along with the 4 AWG cables that head down into the basement storage area. The 4 AWG cables are 12' long and are sized to handle the 45 amps that the controller is rated at. I was originally going to rearrange the cabling of the other panels but decided to just drill into the box, run the new cables and seal up around the cables with Dicor. I figured that the box is now in a pretty protected location being under the solar panel.

Can you tell when I plugged in the new panel? The charge current jumped from about 16 amps to 25 amps. This was with the panel tilted towards the sun. After I got done with the cabling, I moved the panel back to the flat position. These brackets don't seem to be as sturdy as the non-tilting Renogy brackets. Adding the tilting ability does seem to make the brackets a little more flexible. The brackets are now in the upper of two positions which would put slightly more stress on the "L" brackets and the roof screws. Tomorrow, after the Dicor sets up, I'll see if I can move them to the lower position and still have a little space between the junction box and the panel.

Anyway, this was a good upgrade and the installation took a couple of hours. If this panel continues to work out, I may pick up one more. Right now, I have 580 watts of panels on the roof. 

Tuesday, February 12, 2019

Day 35 - Converter Test

This morning, I shut off the shore power before there was any significant solar charging. From the furnace and RV interior lights, the battery was at 93%. Not really down enough for testing. After two cups of coffee from the Keurig, breakfast made on the induction cooktop, an hour or so of YouTube RV videos, and two hours of running the refrigerator, the batteries were down to 86%. Oh well, good enough for an initial test. The first picture shows the little dongle on the new converter that could be run inside somewhere if you want to monitor its operation. The black button on the bottom is for manual override such as selecting boost mode.

I plugged the Kill-a-Watt meter in series with the power cord and plugged the converter into shore power. I then pressed the manual override button and selected “Boost” mode. This is what I would do if running off a generator. Initial current draw was 10.4 amps AC and it was pushing over 60 amps into the battery according the the Trimetric battery monitor though some of this was coming from the solar. After about 15 minutes, the current into the batteries had dropped to 35 amps and the batteries were at 91%, After 25 minutes, the current had dropped to 15 amps and maybe 5 amps were from the solar and the batteries were at 93%. At this point, I turned off the converter. Successful. This is what I was hoping for. After 25 minutes of charging the batteries, it was putting out more than the original converter did initially.

This looks to be a worthwhile addition to the RV. Much of the afternoon was spent at a campground free picnic. The RV park and golf course sponsored the picnic including complimentary champagne and beer. Bridget won a door prize though she’s not sure what to do with it...

Monday, February 11, 2019

Day 34 - New Converter

While we were in Quartzsite, I mentioned in at least one post that the built-in converter wasn't very efficient when you wanted to get a quick charge into the batteries. It would drop down to float mode as soon as the battery voltage reaches about 13.2 volts so it took forever to recharge the batteries. One of the solutions is the Progressive Dynamics Intelli-Power series of converters with their Charge Wizard module. I picked up the PD9270 with the module built in and included the manual override dongle. The dongle allows you to manually select Boost mode which gets the battery up to 14.4 volts quickly. For my battery bank, this will be about 90%. At this point, the generator could be shut down and just let the solar charge controller top off the batteries. Max output is 70 amps.

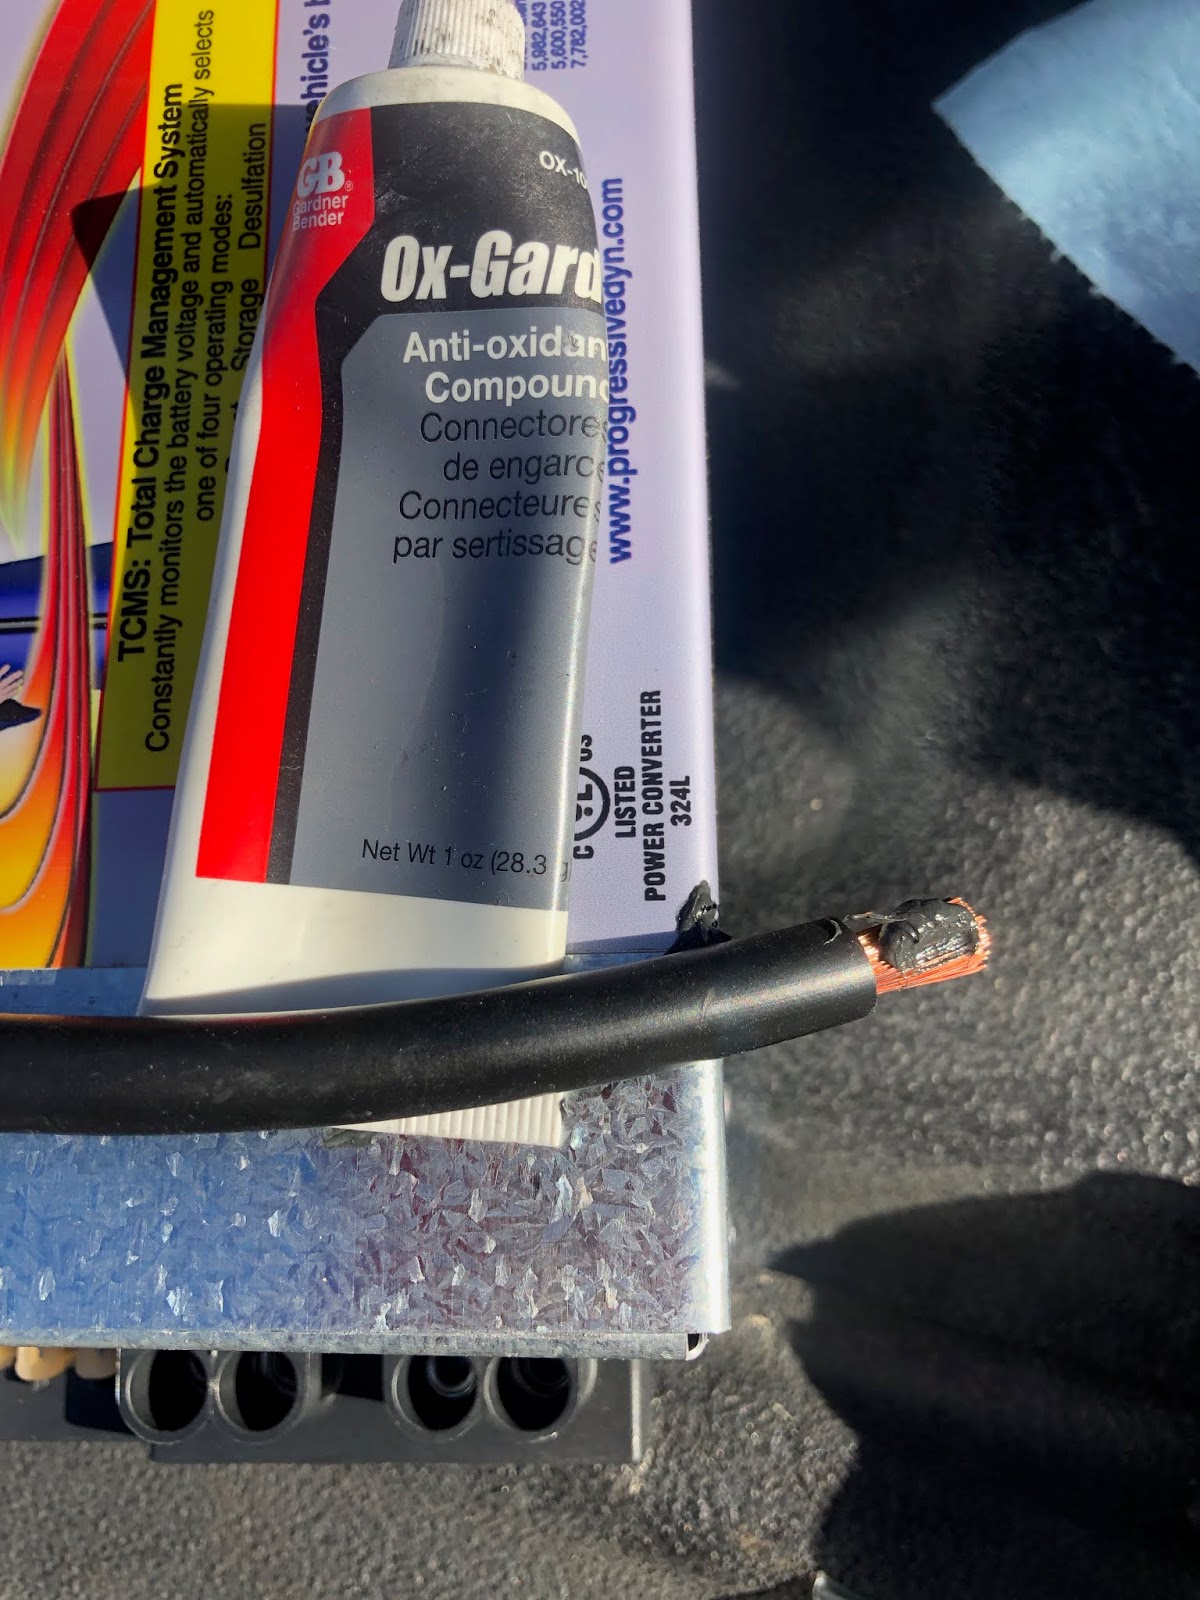
To install the new converter, I also ordered some 4 AWG fine-strand inverter cables with eyelets at both ends. I cut off the eyelets at one end and stripped the insulation to insert the cables into the new converter. Ox-Gard was applied to the bare copper to help prevent oxidation and inserted into the output connections on one end of the unit. Ferrules would be a better option but I didn't bring my hammer crimp tool on this trip. I ordered 18" cables and they were barely long enough to reach the ground bus and the catastrophic fuse.

Terminals are provided for charging two batteries independently but I am treating the four golf cart flooded batteries as a single battery. I still need to install a ground wire on the ground lug (on the opposite end of the unit) and just tested the unit for polarity and basic function. The AC cord is not being wired into the RV at this point as it is my intent to use this converter when running on the generator. At some point, I may run an outlet from the electrical panel converter breaker into the front compartment and completely disconnect the stock converter. According to the specs, this converter could draw as much as 1250 watts so it really does need to be on its own circuit. I installed the unit in the front compartment battery to keep the DC cables as short as possible. There aren't separate "sense" wires so it must monitor battery voltage at its output terminals. Large, short cables would minimize the voltage drop.

Space is somewhat at a premium in the front compartment so the PD9270 is mounted to the steel divider between this compartment and the adjacent propane compartment. For now, I'm using sheet metal screws but I will probably pick up some machine screws with lock nuts tomorrow so there won't be sharp screws sticking into the propane compartment.