Showing posts with label Tires. Show all posts

Monday, September 26, 2016

Home Canning and New Tires

How's that for an odd mix of topics...

Hopefully this batch will turn out better than last years. The general recipe I used is from the Penn State Extension office. I used to have a book called Back to Basics: How to Learn and Enjoy Traditional American Skills which had all sorts of old timey recipes. I can't find the book but the Penn State recipe sounded pretty close. I had the brined cabbage sitting in the crock for only three weeks which is near the lower end of the recommended time. Hopefully it was long enough. All of the jars sealed up nicely. For some reason I get a real feeling of satisfaction when that happens. For future reference, ten pounds (4.5 kg) of cabbage makes seven pint jars of sauerkraut.

This morning (Monday) was clear, sunny and a chilly 25°F (-4°C). It'll be a bit until I'm used to the cooler temperatures and enjoyed the warmth from the heated grips. Since I only rode to coffee and no other errands, I didn't bother with any of the heated gear. Today turned out to be a good time to install the new tires. On Saturday's ride to the Monderosa, I thought that I could feel this tire sliding but DaveR, who was following me near the end of the ride out, said that he could see the sidewalls deflect on right turns. The Duro has much thinner sidewalls compared to the Heidenau.

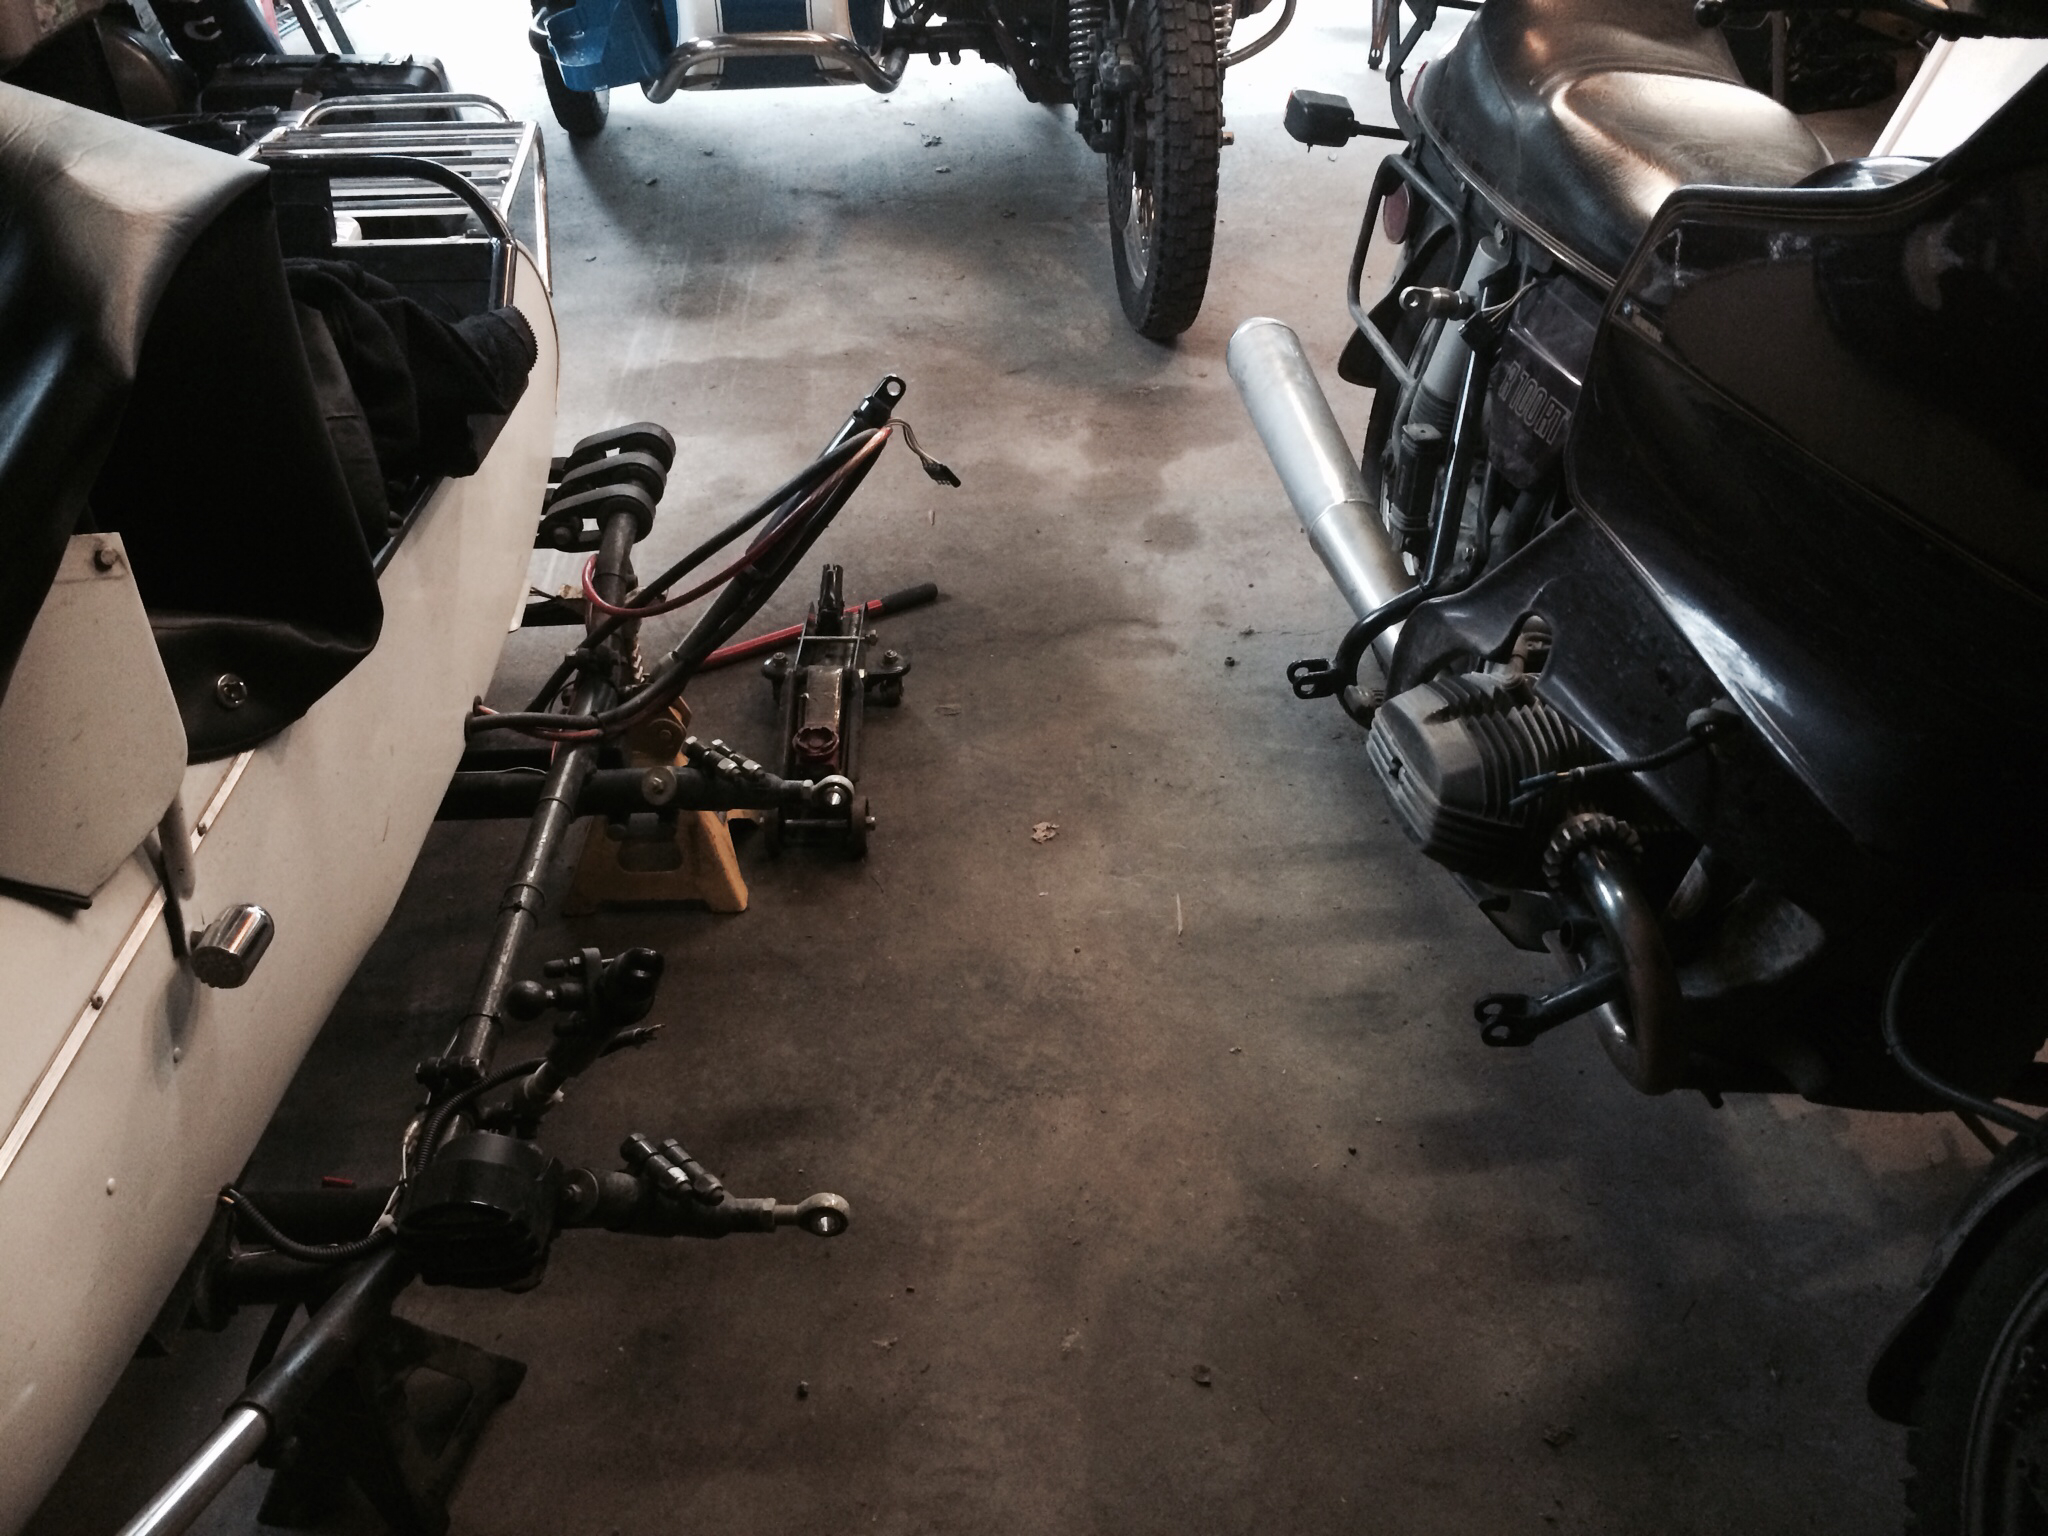
The used pusher was the first to be replaced and it is showing it's wear. I'm not really sure how many miles are on it as it. It used to be the spare which I had to swap on back near the beginning of May when I had a flat on a very worn K37.  The nice thing about Ural wheels and tires is that they are fairly easy to work on. This lifetime supply of tire lube was gifted by JedR after we had installed four K37 tires on his rig last Fall. He is very generous.

 
The No-Pinch tire tool along with the No-Mar tire lube made very quick work installing these stiff Heidenau tires. I think the total time from the wheel and old tire being put on the bench to getting ready to air up the new tire was on the order of ten minutes. So much easier and faster than the Snowflake wheels on the BMW.

JedR had also gifted me with some Tyrebead balancing beads. We had installed them on his bike last Fall and he is very happy with their performance. I had been thinking of using these but hadn't been able to find anyone local that carried them. And shipping was always ridiculously expensive. Two tasks that were on the 50k km task list were checking the bearing adjustment using the two special tools provided in the Ural tool kit and applying some grease to the final drive spline. After installing the wheel, I also adjusted the brakes. Tire pressure in the pusher was set at 40 psi and the sidecar at 34 psi.

Then repeat everything with the sidecar tire. It used to be the pusher when I started my trip last Summer before I switched to a street tire half way down the Cassiar Highway. It has been installed on the sidecar since I returned 13 months ago. It was studded for the winter and the studs removed last May. It was also pretty worn. I definitely got my moneys worth out of these tires.

Two down, one to go. I need to get some other stuff done today so I'll do the front tire later. Plus, it still has quite bit of tread left especially when compared to the rear tires.

Just for grins, I compared the readings on all of my tire pressure gauges. The three dial gauges, one of which is around 40 years old, all matched within a needle width. Two (freebie) pencil gauges were 1 psi higher. And a Slime digital gauge was 6 psi low. I discarded the digital gauge. I had picked it up during my trip last summer as the EZAir dial gauge was somewhat cumbersome to use. But I never really believed the readings. It turns out that my hunch was correct. 

Wednesday, September 21, 2016

New Tires

I ordered these tires back in July from the local Harley/BMW/Honda dealer and at the time I ordered them, I was told that they would just be added to their regular shipment so there wouldn't be any shipping charge. That sounded like a pretty good deal. They finally arrived today and the counter person complained that people like me were trying to run them out of business. He claimed that the cheapest shipping was FedEx and the shipping for my three tires was $162. I reminded him that I ordered the tires two months ago and that it would be added to their regular order. It wasn't my problem that their tire person didn't bother to look at their online system for any special orders taken by other employees.

But to try and appease him, I offered to split the shipping cost. After all, if I ordered the tires from Heindl Engineering in Ohio, the shipping would've been about that anyway. He continued to whine so I don't think I will be ordering tires from them again. In the past, I had ordered tires from Dan at Adventure Cycleworks. When I talked to Dan back in July, he was saying that business was so slow this year that he didn't think he would be placing another order until next spring. Not as many riders as in previous years. Not as many people wanting to ride to Deadhorse.

Now I just need to decide whether to put these tires on now or wait until after the "last ride of the season" this coming Saturday. I may be busy tomorrow...

Tuesday, February 9, 2016

BBBC #9

This post is part of the blogger challenge titled BBBC. Today's topic is:

9. Favorite shoes.

Huh? There is such thing as "favorite shoes"? Who would've thunk? Not me. All I can think of are the motorcycle boots that I picked up in Salem, OR, last July while the Ural was in the shop. I can't think of anything else that would fit the BBBC topic.

I don't have a favorite brake shoe. Some refer to motorcycle tires as "shoes".  My favorite tire brand seems to be Heidenau. The K60 and K28 for the Beemer.  And K37 and K28 for the Ural. The K28 and K37 being made for sidecar use. The K60 is a great dual sport tire. I just put the studded K60 as the pusher on the Beemer and will be adding studs to the K60 front tire. Then I should be able to start riding the Beemer and the PBC rides may continue for a couple of days.

Speaking of Ural, this morning (Monday) Jed brought his truck and trailer by and we hauled the Ural to Delta to see Mickey (formerly of Mickey's Muffler in Anchorage). He listened to the bike and the new noise it was making and decided that it is internal, deep inside the engine and not knocking. Possibly the rear cam bearing. The only solution is to tear down the engine. He said that I should have no problem tearing it down and removing the crank and the cam.

The only specialized tools are the one to take apart the clutch, remove the flywheel and pull the timing gear off of the front of the crankshaft. BruceW from Ketchikan will be arriving in Fairbanks on Tuesday afternoon and will be bringing the tools to remove the clutch and flywheel. He needed them last year to replace the rear main seal and clutch on his Ural last year. The tool to pull the timing gear is readily available. So I will be removing the engine and tearing it down later this week.

This posted accidently for a couple of hours on the 8th until I fixed the scheduled post date.

And since I got the Beemer set up again for winter riding, here is another PBC video. Only a few more days to go...

PBC #54


Saturday, January 24, 2015

A Bad Sign

The BMW is next to the garage door, battery is being charged, studded tires are being installed, winter oil is going in and the crankcase vent tube is being removed from the air horns within the air cleaner housing. What can this mean...

I think the Ural is having an engine problem. As part of the 22,500 km service, I had adjusted the valves. On the way home from the university on Friday, I noticed that there was valve noise from the left head. On Friday night, I readjusted the exhaust valve as it was really loose. On Saturday morning it started up easily and it ran great. I rode about 10 miles and the exhaust valve was loose again. Plus one of the cylinders was popping like it was running lean.

George Rahn suggested that I check the compression since it may be a result of a stuck valve. Compression was 135 psi on both cylinders. Which is good. When I restarted the engine, I could hear a random "clanking" sound coming from the engine when the rpm is raised a little past idle. Not good.

So the Ural is parked until I can get it to the dealer in Anchorage. What I need to find out is if he needs the whole bike or just the engine. I suspect the whole bike...

Putting on the Heidenau K60 tires in a warm shop is hard enough. When things are near freezing, I'm just glad that my son was here to help. It took most of the evening to just change the tires. BTW, the oil mess on the floor in the picture is from the Ural weeping oil out of just about every engine gasket when the temperature is around or below 0°F.

I still have three more PBC videos in the queue. Here is #28 that I just uploaded today.


Saturday, July 19, 2014

Separation

Well, it's done. I took the Cozy off of the Beemer for the first time in a year and a half. I also changed out the Heidenau sidecar tire on the rear for an old Shinko rear tire that I had installed in Corvallis, OR, during my 2012 road trip. It still has some mileage left on it as I had removed it when I installed the Cozy. I am going to try leaving the subframe installed though I'll need to be conscious of it when leaning to the right as it hangs a bit lower than anything else.

After swapping out the rear tire, I took the Beemer out for a test ride. This is the first time I've been on two wheels in almost a year. The last time was the demo rides at the Salem MOA rally last July. It really felt weird, for lack of a better description. It took a few miles before I felt comfortable with the leaning and countersteering. To add one more thing, the bike seemed to stumble a couple of times before I looked at the trip odometer and realized that I was running out of gas. Once I switched to reserve, no stumbling. As you might have guessed, the bike accelerates much faster without the sidecar and the steering seemed odd until I turned off the steering damper. After getting back home, I felt much more comfortable on the Ural.


Saturday, April 26, 2014

Easy Tire Installation

Does it seem like I'm always working on the rig to keep it on the road? Sometimes it does. Today marks the official end of Winter as I removed the studded Heidenau K60 tires on both the pusher and the front. Changing tires especially putting on tires has been a real challenge for me. While I was visiting Dom in Denver, he mentioned an introductory sale price on the Baja Tools No Pinch tire tool so I jumped on line and ordered one immediately. I had seen a video of a similar product made somewhere in Europe and this one was half the price and no international shipping!

I did end up going back to the site and ordering the 17mm axle shaft since that was the size I needed for my bike instead of the included 20mm shaft. After getting the tire bead started, you simply place the end of the geared shaft against the bead and pull on the geared handle to push the bead onto the wheel. The tool is anchored with a shaft the same size as the axle going into the wheel. Getting the bead seated, even with the stiff sidewall of the K60 was a snap. As in about a minute with very little physical effort. It took me longer to do just about every other task than installing the tire. What a difference! An incredible tool for anyone who changes their own tires. Absolutely no risk of pinching the tube with the tire irons.

Since I had both wheels off, I thought that it may be a good idea to grease the wheel bearings. George Rahn, the BMW guru of Fairbanks, said that the non-sealed tapered roller bearings on my bike will probably last forever as long as they are regularly greased. He had this nifty tool that you simply insert into the wheel and pump grease into the zerk fitting on the end. Grease comes out of a hole in the middle of the shaft and is forced into the bearings at each end. He said to just keep pumping in grease until it starts to come out at either end. It works pretty slick and I may need to pick one up. He suggested greasing the bearings every time the tires are changed.

I reused my old Heidenau K60 that I took off last Fall on the front as there is still plenty of tread left even though it has something like 12K miles. For the rear, I'm trying out a sidecar specific tire. The Heidenau K28 has a square profile for more rubber on the road and a stiff sidewall to handle the lateral loads and is available in the correct inch size for my bike, 4.00x18. It went on very easily with the new tool and it took much longer to loosen the bead on the old tire than putting the new one on. Both wheels took less than an oz of weight to balance.

Of course, I had to try out the new tires and was amazed how much quieter the ride was. The studs do make quite a bit of noise. One more task done and the studded tires still have plenty of life left and will be re-installed next October. My winter commuting only totaled a couple of thousand miles.

Tuesday, February 25, 2014

Tire Changes Are Getting Easier!

All through the winter, I have been watching this ice feature growing. It is a roof drain at the corner gas station/convenience store. Maybe this is a good indicator of our "Winter" as with every warm spell, we get a bit more liquid water showing up when it shouldn't be there.

Last night, I pulled the tube from the sidecar tire and found a tiny set of holes where it had been rubbing against a rusty spot inside the rim. I patched the hole and sanded down the rusty spot. After mounting the tire and putting it on the balancing jig, I was able to remove eight of the ¼ oz weights from the rim. You may remember that to balance the sidecar rim last summer, I had to put on twenty of the ¼ oz weights. So this is a significant improvement. Total time for the repair, under 30 minutes! I'm improving...

Based on George Rahn's suggestion yesterday, I put some closed cell foam around the carbs to try and capture and retain some heat from the cylinders. This was my 5 minute fix using an old foam pad from my backpacking days and a couple of zip ties. We'll see if it makes any difference. I have also removed the plumbing putty from the vent/overflow openings on the bottom of the carb bowls. Just for the record, last night both bowls had a couple of drops of water in them. Not enough to cause any rough running.

The only other bike-related activity is that I moved the Gerbing controller to the small carabiner attached to the upper left pocket. To move it here, I needed a couple of 12" extensions and a longer cable for the attachment to the bike. The short extensions could now be left threaded through the suit when the controller is no longer needed. Much simpler long term solution. In this position, I can still see the LED lights on the controller (barely) but the control knobs are easier to reach and use.

The coiled extension cable came with a panel mount so I will be using one more of my relays to have the heated gear connection on switched power and mounted into the fairing. Better than the dangling connector next to the stock battery.

Tuesday Evening - I had in interesting conversation with someone outside of the optomotrist office this afternoon. She liked seeing a sidecar attached to a BMW. Her and her husband had recently sold their motorcycles since the riding season in Alaska seemed so short. They did ask the local dealer about putting a sidecar on one of them, and the salesman told them that there was no way to attach one to their way-too-modern R1200GS. I pointed her to the hack area of ADVrider and to the DMC website to see many examples of sidecars attached to a GS. 

Monday, December 23, 2013

Merry Christmas

First of all, I would like to wish everyone a very Merry Christmas. The picture on the right came through my Twitter feed though I'm not sure who posted it or who to attribute it to. But I thought it was too cool not to share and it fit with my geeky nature.

I'm still attempting to make a slideshow ala Bobskoot but it's still uploading. And no music.


We got quite a bunch of fresh snow over the weekend and since I didn't get out and clear the driveway (again), I opted not to ride in this morning. Most of the roads weren't very clear so I'm it was probably a good decision. I think it took longer to dig the truck out of the snow than it would've taken me to ride in. The snow on the sides were well above the top of the tires so some shoveling was needed just to open the door. Most of the university is shut down for a couple of weeks and I just came in to get a proposal finished up and submitted.

Yesterday morning, I rode around the area looking for photo opportunities but nothing really stood out. With the heavy snowfall, I really didn't want to venture off of the main roads and visibility was poor plus it was dark. It sounds like I'm full of excuses for not stopping to take pictures. It was a challenge getting back up our subdivision road with a lot of fishtailing while heading up the hill due to the fresh snow. The bike ran really well and I hope this whole "water in the gas" thing is behind me.

This morning, Shawn from Adventure Cycleworks, dropped off a new rear tire at my office (how can you beat service like that!). It is a Heidenau K28 and will be the new summer tire for the rear of the bike. It is a sidecar specific tire in the correct "inch" size for the bike. Note the square profile to put a little more rubber on the road and the two ribs down the middle should contribute to longer life. I had heard about this tire at the BMWMOA rally last summer in Salem, OR, and needed to show the brochure to Shawn to try and order it. Heidenau US had just began importing these tires but they've been available in Europe for a while.

Once the Christmas break starts, I plan on removing the sidecar and performing some maintenance on the bike including:

  • Transmission input spline lube
  • Change front and rear brake fluid
  • Renew anti-sieze on the exhaust nuts
  • Rear wheel spline lube
  • Adjust valves
  • Replace oil filter
  • Check pads, plugs, hoses, wheel bearings
  • Grease swingarm pivots
  • Grease clutch cable pivots

Other items include:

  • Check out horn and headlight wiring problem
  • Check sidecar alignment
  • Check clutch for wear
  • Install new horn
  • Clean starter and replace bushing in the nose
  • Re-route positive battery cable
  • Sidecar battery blanket


Wednesday, October 2, 2013

Mounting the Front Tire

On Monday evening I started to mount my new front tire, another Heidenau K60 100/90-19. I had such great success with the last one as it has over 14K miles and still has plenty of tread plus great traction on the gravel and dirt roads that are common around here. No problem at all removing the old tire using my 2x4 bead breaker and the 18" long tire levers. If you aren't familiar with the K60, they have an extremely heavy sidewall and can be run at pretty low pressures. 

I again looked for the paint marks which identify the heaviest part of the tire and lined it up with the lightest part of the wheel, the location of the valve stem. The first bead popped on easily just using soapy water. After inserting the tube, I then struggled to get the second bead onto the rim. After about 30 minutes of frustration, we finally got the tire mounted. "We" being my son, Kyle, and I. The tube was filled with air and I heard that dreaded hissing sound. I had nicked the tube with the tire levers while fighting with the second bead.

Removed one bead, pulled out the tube and dug out the spare tube. Fought with the bead again and started filling the tube. I then noticed (from the hiss) that I had pinched the tube between the bead and the rim. Put everything down, cleaned up and went back inside. I now needed to buy another tube. The second small cut could be easily patched but I probably needed a break.

The next morning, I picked up a couple of new tubes at the local Harley/BMW/Honda shop and started to look for some tire lube. They had none as well as three other shops and auto part stores. I stopped at an independent motorcycle shop, Thunder Road on College Road, and while they also had none for sale, the owner found a small plastic container and gave me some from their shop. He mentioned where they buy it but it is sold in 5 gallon buckets. A bit more than I needed.

Using the tire lube, the tire bead went on "like butter" after putting in the new tube. This time when the tube was filled, no hissing! I thought I was home free. No such luck. I tried about ten times to seat the bead but the last 10" wouldn't pop out. The actual location moved around the rim so it wasn't anything with the tire or the rim. Dan Armstrong from Adventure Cycleworks mentioned that he had the same issue when he mounted my first K60. I mixed some Dawn dish soap with a little water and put it all around both beads and the rim. This time when adding air, at 50psi (well over the max pressure of 35psi!), the stubborn section started to slowly move into place. I let out all the air and repeated the operation a couple of times until the bead was seated all around the tire. This is evident by a mold line on the tire just visible next to the rim. Since the rim is for a tube type tire, the bead doesn't really "seat".

The next step was balancing and it took 1oz. This is the portable balancing setup that I picked up from Amazon last Spring. The cones on the shaft are snugged up into the bearings and balanced on two blocks with bearings. The rotation of the wheel is on the block bearings and not the wheel bearings themselves. After mounting the wheel back on the bike, I installed the carbide GripStuds using a battery powered drill with the supplied installation tool. I ended up short by 9 studs as I had used over half of the package on the rear tire. They are sold in packages of 100 but It'll work for now until I get another package. Too bad they aren't available locally. These I ordered from Aerostitch. The next batch is being ordered directly from GripStuds as they are willing to use USPS flat rate for shipping instead of UPS, $5 vs $37!

Now I think I'm almost ready for Winter. Pretty nice looking tires for an RT if you ask me. Tuesdays high and low temperature was 32°F so I think that it's about time for the winter tires. I'm still running the normal oil and will change to 5W30 as soon as the temperature stays below freezing. I really wanted to see what would be involved in fixing a tire on the road. I think I need more tools. (You can never have enough tools!)

While riding in this morning, on the subdivision roads it sounds a little like you are driving on bubble wrap. (pop pop pop)


Friday, September 20, 2013

Replacing the Pusher

Friday evenings motorcycle maintenance task was replacing the rear tire. As you can see, it is worn out and near the end of its useful life. I didn't expect it to last as long as it did at almost 4,000 miles. This was also an opportunity to try out the tire levers that I had picked up last winter. The first step after jacking up the bike was removing the left muffler. Supposedly this doesn't need to be done but it makes it much easier to get the wheel off. After removing the wheel, I used the bead breaking setup that I had made up last winter using a couple of 2x4's. Removing the old tire was surprisingly easy and only took a few minutes.
My new rear tire is another Heidenau K60. It has a really stiff sidewall and I expected it to be difficult to get on the rim. The first bead was no problem and after inserting the tube and putting in a little bit of air, I attacked the second bead. With the help of a little water and dish soap, my son, Kyle, and I got the second side on. This is a really stiff tire and it took a lot of weight to get the bead on one side to drop down into the center trough of the rim. But once it did, the rest of the bead popped right on. I was careful to align the paint dot on the tire with the valve stem as it is supposed to mark the heaviest part of the tire. It took about 40 psi to seat the bead with a couple of satisfying "pops" and I aired it down to 38 psi.
I dug out the tire balancer and ended up removing all of the existing weights and adding only ½ oz to the other side. This is a far cry from the 5 oz that the sidecar wheel and tire needed and this is by far a much heavier tire. Once the weights were added, it was a simple matter of reinstalling the wheel on the bike, putting the caliper and muffler back on and bolting everything together again.
The final task of the evening was studding the rear tire. Last winter, I used some screws with hardened heads but they needed to be replaced every couple of hundred miles on the rear tire. This year, I am using carbide GripStuds that I ordered from Aerostitch. I hear that they will last through multiple winters. I installed 52 studs for now and will see how they do. According to the weather guessers, our next snowfall will be on Monday. It probably won't stick but I want to be ready for it. I'm still trying to figure out what to do on the front as there isn't enough rubber on the existing front tire. There is still plenty of tread left but not quite enough for the 11mm studs.

Thursday, April 11, 2013

Worn Out Studs


Wednesday Evening - Just as I figured, the screw-in tire studs have worn down again on the rear tire aka the pusher. It only takes about ten minutes to remove and re-install the 52 studs using my 1/4" impact driver and the cost for the 52 studs is about $4. Not bad for being able to ride through the winter though the studs are starting to wear out faster due to more dry pavement.


Aerostitch has screw-in carbide tire studs of a more conventional design listed in their catalogue and I will be trying those next winter. The front tire still has the ones I put in a couple of months ago. Right now, we have fresh snow on top of ice and that is a treacherous mix. At times it's hard to stay upright even while walking.

Thursday Morning - The replaced studs made a huge difference not only in getting up the driveway but made for a much more solid feel on the road. This may be the coldest I've ridden the rig in so far. As always, with the heated liner and gloves it's no problem at all staying toasty warm though I could really start feeling the cold after arriving on campus. With the engine basically just off idle through campus, I turn off all the heated gear to avoid running the battery down.

I must admit that when I first woke up this morning and saw -18°F, I seriously considered taking the bus. But it was only -3°F at our house so I went ahead and rode in. 

Saturday, February 2, 2013

Studs

I finished up the enough of the wiring to connect the existing lights on the Cozy sidecar. There is an amber running light on top of the fender and a brake light on the rear fender. I installed a 5-pole flat trailer connector to make it easy to disconnect the sidecar wiring from the bike. If the sidecar is not attached, I can just tuck the connector next to the battery. This is the top-rear mount on the bike as I just tapped into the wiring to the rear lights. I re-torqued all of the bolts, changed the engine oil to 5w30 from the normal 20w50 in anticipation of cold weather starts as suggested by ChrisL from Everydayriding.org. I rechecked the alignment and pushed the rig out of the garage. The first start since the carburator rebuild went just fine. I didn't need to adjust the idle but I will need to balance the carbs sometime soon. But, I still couldn't get out of the driveway.
After mulling this over for a bit, I called around looking for screw in studs. There are some very well made ones on Aerostitch but I didn't want to wait for shipping them up plus they are pretty expensive. A shop in town had boxes of a 1000 of a different variety that is more suitable for off road riding but I thought that I would give them a try. They look like sheet metal screws but are supposed to be much harder and they have sharp edges. These are the 7/16" long version and I screwed in 58 into the rear tire and 50 into the front using my 1/4" impact driver. There is just barely enough rubber in the Heidenau K60 on the front as they have over 8000 miles on them. This evening, after installing the studs, I took off up the driveway and without a running start or any tire spinning, I easily made it up the driveway. I rode only about 10 miles as it was dark and a bit cold (0°F) as I still haven't looked into why the heated grips stopped working. I was getting some odd looks from passing cars and got up to about 45 mph without any handling issues at all. With the studs, braking is almost as good as on dry roads with no evidence of sliding. The shop recommended tightening them up periodically and to remove them before the heads wear completely down.

Saturday, January 26, 2013

Getting the Bike Together - Again

I must have accidentally deleted this post. Two comments were lost from Dom and Lori. Not sure how but here it is again...

In my last post, I mentioned that I would take a picture of the rim. According to BMW, the rim is designed for only a tube type tire. There is no safety bead on the rim to help hold the tire bead in place on the rim. The sealing area along the edge is wide enough to safely hold the tire bead in place and many owners do run tubeless tires on these rims. The IRC TR-1 tire that I will be installing is a tube type tire.

Given the cold temperature in our garage, I asked a fellow member of our local airhead group if I could come by and use his tire changer. He has a No-Mar changer and it made quick work of putting the tire onto the rim. Longer tire levers really make a difference. It was on the rim and aired up in a little more than five minutes. He was ammused by the idea of dirt bike tires on an RT. Of course, it's necessary to stand around and talk for a while as I admired his collection of bikes including his newest addition, a 1958 Norton.
This evening, I put the wheels back on after cleaning up the rear hub of all of the excess grease. If you have been following this blog, you may remember that grease got onto the rear brake pads after the tire swap in OR so the pads were replaced at this time. The rear brake fluid was changed since I was working back there anyway.
The replacement shim for the carb came in the mail from Bing while I was out of town so it was installed under the main jet. The float level was rechecked since I had the carb bowls off. The carburetors were installed and the throttle and enrichener cables were adjusted (approximately). The battery reinstalled and plugged back into the trickle charger. I picked up a 5-pin flat trailer connector to connect the lights on the sidecar with the bike. Initially, there is just a tail and brake light but eventually I want to put in a right turn signal at least on the rear of the sidecar and some sort of white LED forward facing light to help me be more visible to oncoming traffic.
The wiring is my next project before putting the sidecar back on. Almost there...

Thursday, January 24, 2013

Rear Tire - Attempt 2

Following Dom's suggested technique, I screwed a 2x4 scrap to one of the posts in the garage. I then placed a long 2x4 under it and another scrap piece between the long one and the tire. By pushing down on the long 2x4, the tire bead is easily pushed down and loosened from the rim. This is done on both sides of the tire. The smallish tire levers that came in the factory toolkit were barely adequate to remove the bead from the disc brake side of the wheel.


The tube is removed after removing the nut from the valve stem. Removing the other bead from the wheel proved to be more difficult with the two supplied tire levers as I always wished I had at least one more. This is supposed to be the easy side.

I had wanted to try and do this whole process using only the tools provided in the supplied toolkit or at least using what I would be willing to carry. I thought that the most difficult part was going to be breaking the bead and getting the first side started.

Frustrating....

Monday, January 21, 2013

Rear Tire - Attempt 1

I started out pretty ambitious but all I managed to do is remove the wheel and attempt to remove the tire. The easiest way to remove the rear wheel is to first remove the front wheel. Both calipers must first be removed and supported so they aren't hanging by the flexible brake lines. The yellow ratchet strap is used to hold the center stand in position so it doesn't collapse when the bike is tipped forward onto the forks.
Then it is a simple task to remove the rear caliper and pull the axle and remove the rear wheel and tire from the drive spline. In this photo, it is really greasy from the grease the Honda dealer put into the hub in an attempt to be helpful when I bought a new tire in OR. The final drive spines are also in good shape and are normally lubed with the same mixture I mentioned in my last post and should also be re-lubed on a regular basis.
Now that I had the wheel and tire off, I attempted to remove the rear tire using the modest set of tire levers in the stock tool kit. I couldn't even get the tire bead loose. The rims are cast but are not designed for tubeless tires so there is no shoulder inside of the rim. I don't want to just resort to the dealer as I want to be able to patch a tube along the road...