
Another very long RV solar post with way more than most would care about. And another post with zero motorcycle content originally written on Sunday 02-27-2017. With the overcast, snow and cold, you can tell that I must've been bored given the length of this post.
It has been overcast and/or snowing for the last 8 days and, not surprisingly, there was little charge to the battery bank. I checked the Trimetric monitor on Monday evening and it was reading -21.5 amp-hours and a constant draw of 100 ma. The draw was the Trimetric monitor and the Tristar charge controller. (I wonder why thing are "Tri..."?) Probably mostly the controller since I had the laptop connected to it collecting log data. The default was every 5 seconds and I just changed it to once per minute. The next week is supposed to be mostly sunny so I'll be anxious to get back to testing.
 I finally finished assembling my home made combiner box and I'm pretty happy with how it turned out. In the picture, it is sitting on the 4 awg welding cable that will be running from the bus bars to the 60 amp circuit breaker to the charge controller. I picked up some flat head stainless steel screws that I could recess into the bottom of the junction box. Recessed so there would be no contact with the roofing material when the box is fastened to the roof of the trailer. I decided not to put in a ground bus bar as I may need the box space on the opposite side if I decide to install some additional panels.
 I'm not positive on what the roofing material is but plan to use pieces of Eternabond tape under the combiner box and the solar panel "Z" brackets. The Eternabond tape is compatible with both TPO and EPDM flexible roofs. Dicor lap sealant will also be used to seal all of the screw holes and the 1⅛" hole under the combiner box. Actually finding the right location for that hole is the only task that has me worried. Granted, any small "test hole" can be easily sealed but I would rather just do it once. The roof cavity near the center is on the order of 8" and there is wiring and an air conditioning duct running in approximately the same area. I'm considering removing the wood panelling on a section of that wall just to see what is back there. I may be able to remove the shower faucet and see inside the wall cavity. This is something that needs to wait until I get down there.
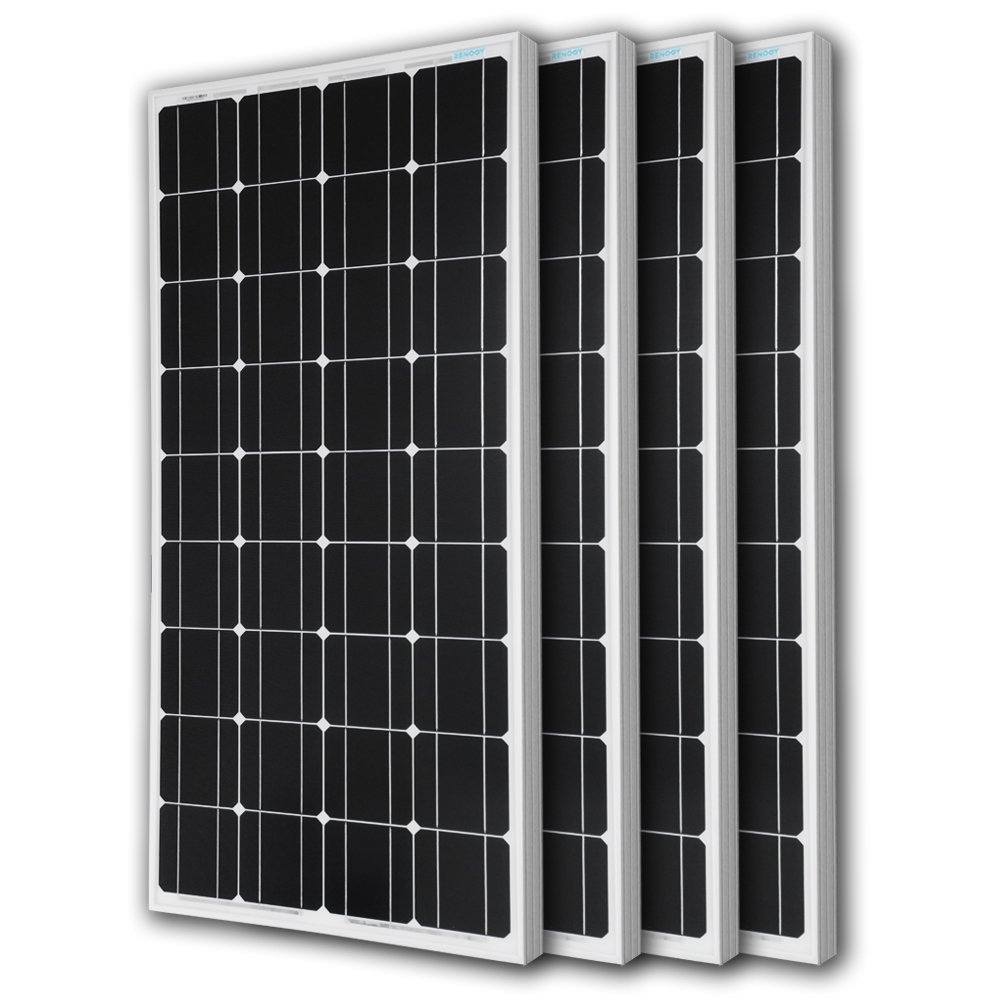 I finally ordered most of the rest of the solar stuff for the RV. I have been tracking the Renogy 100 watt monocrystalline 12 volt panels on Amazon since November and noticed that the price had dropped in the beginning of January but was starting to creep up. There was a modest price break for a set of four panels and four was my starting point. The Tristar TS-45 PWM charge controller can handle approximately eight of these panels. (5.25 amps x 8 = 42 amps). The Renogy panels are slightly more than $1/watt and their snow load rating seems to be as good as other more expensive panels. The panels have a weatherproof junction box and come pre-wired with 10 awg wire and MC4 connectors. All of the panels will be wired in parallel to minimize shading issues.
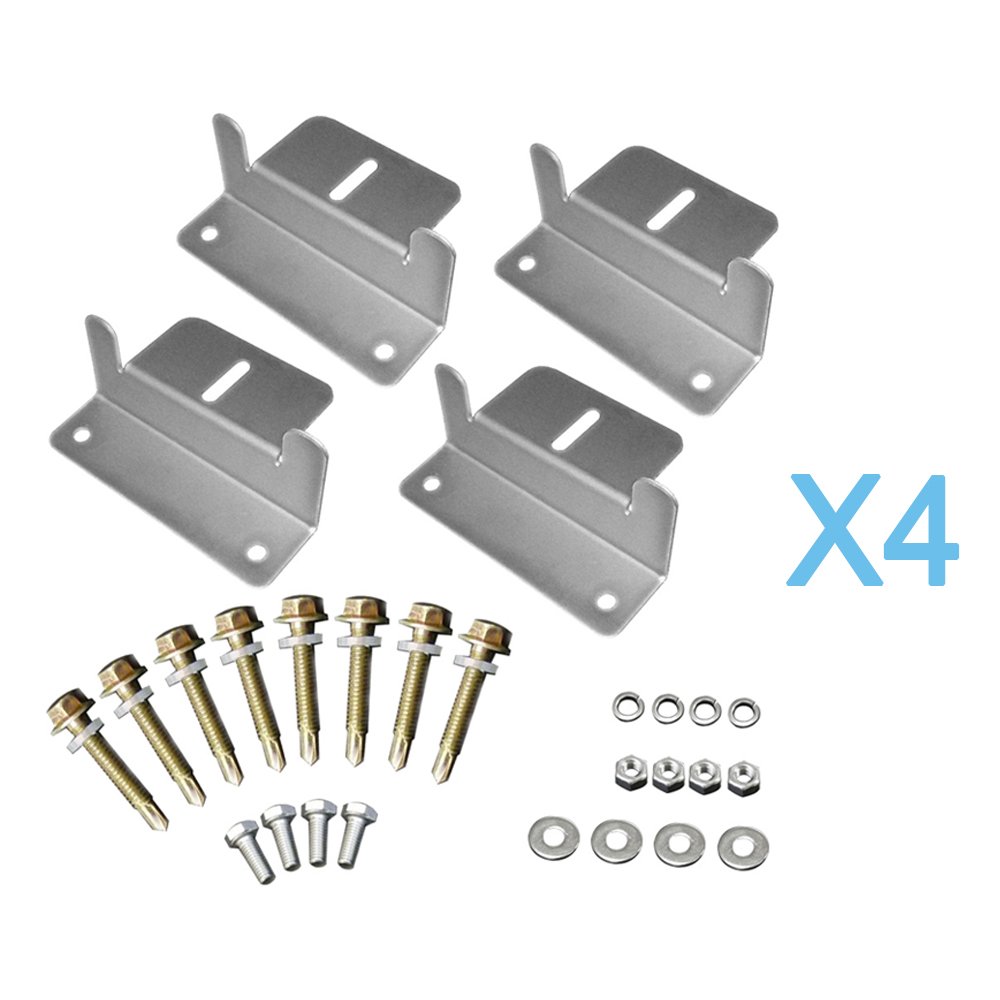 To mount the panels, I picked up four sets of Renogy specific aluminum "Z" brackets and mounting hardware. I am not planning on making the panels tiltable but simply screwed onto the roof sealing everything with a combination of Eternabond tape and Dicor self leveling sealant. There is a measureable increase in efficiency at low sun angles but the tradeoff is simplicity. Instead of putting up with the hassle of tilting the panels, I could just add more panels.
 I'm planning to run a pair of 10 awg wires to each pair of panels so I need to splice the MC4 connectors from the each pair of panels together. They make MC4 branch connectors to make the connection. Note that the connectors are different to avoid confusing the positive and negative connections. So two sets. 10 awg is rated at 0.999 ohms/1000 ft so the voltage drop with 10.5 amps (two panels in parallel at 5.25 amps) is 0.17 volts assuming 16 feet of cable (positive and negative). About 1% of the panel voltage, more than adequate.
 Since I am unsure of the exact placement of the panels, I am not able to simply order a premade extension cable for each pair of panels and cut it in half. This would yield two cables each having the appropriate MC4 connectors on one end. So I ordered a 50' roll of 10 awg wire designed for outdoor use on photovoltaic systems. And a package of five pairs of MC4 connectors and an MC4 crimp tool. The MC4 connectors are designed to be "tamper proof" meaning that you need a special tool (pictured) to disconnect and disassemble the connectors. I believe that the only item left to get is the Dicor lap sealant. There was one new tube in one of the storage compartments probably left over from the roof installation.
All of this was delivered to Oregon as Amazon Prime wouldn't ship these and many other things to Alaska. But that works since the fifth wheel trailer is still in Vancouver, WA. For me, this whole process is a great opportunity to learn about solar and low voltage systems.
What did surprise me is that the crimp tools, connectors and special tool plus the 50' of cable were less than the cost of two extension cables. This way I can make them the exact length that I need plus have enough cable, connectors and tools if/when I add additional panels. For anyone considering adding solar to their RV, the total for this 400 watt system is $865.71 including the panels, charge controller w/temperature compensation, two circuit breakers, MC4 tools and connectors, combiner box, 4 awg and 10 awg wire, heavy connectors and heat shrink tubing. This total does not include the batteries, battery box, inverter, automatic transfer switch, catastrophic fuse, Trimetric monitor and shunt, crimp tool, or 2/0 awg welding cable. I would have needed those even without the addition of the solar panels. And everything is sized so I can add up to 4 more 100 watt panels. The rough "rule of thumb" is panel wattage roughly equal to battery bank amp-hour capacity. 400 watts of solar panels and 430 amp-hours of battery capacity. This "rule" is a generalization and is based on flooded lead acid batteries.
Not much else to do except start installing this stuff... That'll be in May and I can hardly wait. BTW, all of the product links are using my Amazon Affiliate link which I'm not sure even does anything.
 Updated Tuesday - Today was mostly sunny and the battery bank charged back up to 100% (the Trimetric was showing +2.5 amp-hours). The specific gravity of the cells were checked and in the picture, the hydrometer shows about 1.280. To correct for the 55°F temperature in the garage I need to subtract 0.004 for ever 10°F below 80°F or 1.270 and this corresponds to an almost fully charged battery according to the chart shown below. I did check the specific gravity in all of the cells and they were all between 1.270 and 1.280 but I'm not sure how much of the variation was due to my inconsistent testing technique. There is a line near the top of the clear plastic housing and if the battery fluid was above or below the line it seemed to affect the reading. I probably should've just ordered the glass version with a float but was concerned about breakage. The forecast for tomorrow through Friday is clear and cold.
 I'm logging the data to the Windows 10 laptop and it stores the data as a comma-separated text file which easily imports into Excel. The problem from my point of view is too much data. In these 820 rows you can see the sun coming up and a combination of partial clouds and the occasional tree blocking the sun. From the battery voltage, you can tell that it never made it out of bulk charge to absorption charge and eventually to float. The raw data supports that as one of the columns is control state and the entire column is "bulk". This is but a small fraction of the data as the default log frequency is every 5 seconds.

It has been overcast and/or snowing for the last 8 days and, not surprisingly, there was little charge to the battery bank. I checked the Trimetric monitor on Monday evening and it was reading -21.5 amp-hours and a constant draw of 100 ma. The draw was the Trimetric monitor and the Tristar charge controller. (I wonder why thing are "Tri..."?) Probably mostly the controller since I had the laptop connected to it collecting log data. The default was every 5 seconds and I just changed it to once per minute. The next week is supposed to be mostly sunny so I'll be anxious to get back to testing.

All of this was delivered to Oregon as Amazon Prime wouldn't ship these and many other things to Alaska. But that works since the fifth wheel trailer is still in Vancouver, WA. For me, this whole process is a great opportunity to learn about solar and low voltage systems.
What did surprise me is that the crimp tools, connectors and special tool plus the 50' of cable were less than the cost of two extension cables. This way I can make them the exact length that I need plus have enough cable, connectors and tools if/when I add additional panels. For anyone considering adding solar to their RV, the total for this 400 watt system is $865.71 including the panels, charge controller w/temperature compensation, two circuit breakers, MC4 tools and connectors, combiner box, 4 awg and 10 awg wire, heavy connectors and heat shrink tubing. This total does not include the batteries, battery box, inverter, automatic transfer switch, catastrophic fuse, Trimetric monitor and shunt, crimp tool, or 2/0 awg welding cable. I would have needed those even without the addition of the solar panels. And everything is sized so I can add up to 4 more 100 watt panels. The rough "rule of thumb" is panel wattage roughly equal to battery bank amp-hour capacity. 400 watts of solar panels and 430 amp-hours of battery capacity. This "rule" is a generalization and is based on flooded lead acid batteries.
Not much else to do except start installing this stuff... That'll be in May and I can hardly wait. BTW, all of the product links are using my Amazon Affiliate link which I'm not sure even does anything.


Yep, lots of data, but I think it'll be quite useful at least to me once I decide to go solar.
ReplyDeleteHope it's useful. Most of the cost is just the charge controller and the panels. And a commitment to drill hold in the roof. It's a new roof so the whole system should have a long lifetime. At least that's the plan...
DeleteWow, I'm a pretty practical, even technical, person, but all that is way over my head. I can see hiring someone to do solar one day, possibly. ;-)
ReplyDeleteI'm one of those "I'd rather do it myself". If I don't know anything about something I'm generally willing to learn. I like these kinds of projects. The solar stuff is pretty straight forward but I sure wouldn't trust someone else to do it unless I saw examples of their work. Definitely not any RV dealer I've ever been to.
DeleteMore power to you Richard...oops, no pun intended actually. ;-)
ReplyDeleteI agree, something like this I would only trust to a solar expert. There are several that are recommended in the RV community, mostly out west.
I found a couple of web sites that had a lot of good information on RV solar. The information was consistent and they weren't trying to sell anything not even installation or service. Mobile Homestead Solar Services (https://wyominggypsysmobilehomesteading.wordpress.com/2015/09/30/mobile-homestead-solar-services/) has a lot of photos of RV installations he has done and Handy Bob (https://handybobsolar.wordpress.com/) has a lot of great information if you are willing to wade through the opinions.
Delete